

We’ve all got them: those nightmare drawers full of half-used pens we can’t quite throw away, hand-written notes from years ago, flashlights without batteries, batteries without flashlights, and coupons to pizza places that aren’t even open anymore.
They’re in every home, and most of us (rightly or wrongly) have resigned to simply knowing that those drawers will always be there, haunting us whenever we need to find our Post-It notes or our favorite shade of lipstick that we know is just buried in here somewhere. Starting to sound a little familiar?
It isn’t totally hopeless, though! Re-organizing these drawers can actually make things a lot easier for you and your home at large, and might actually stop them from getting messy again later. If you have some of these drawers and you feel like it’s about time you got them under control, here’s a few of the messiest drawers you might have and how to get them back to normal:
Junk Drawer: We’ll start here because it’s the most obvious (and probably the messiest). Junk drawers can linger for years in your home office, collecting pennies and push-pins that start to form a thick layer of crud that the more needed items can’t quite poke through. To get these under control, you should:
- Purge it all first: The idea is probably pretty intimidating, but the best place to start with these is to dump it all out. Get some plastic storage bins to hold onto it all, dump out the contests of the drawer by size or type, and then start throwing out everything that can be done away with.
- Put it all back by size: Once you’ve thrown out everything you don’t need, start looking at what’s left. Rearrange it by size to maximize your space.
- Sort by need: Finally, feel free to tinker with the layout to help you get to the items you need most often. If something is going to come in handy enough you might want to consider getting some desk organizers to keep it in a more easily accessible spot - this will help cut down on the amount of things in the junk drawer and prevent this mess from cropping back up later!
- Re-sort by type: You probably have some kind of organization system in there already, but it might be time to try a fresh approach. Take everything out and reorganize it by type of utensil, and we don’t just mean forks and knives - keep the eating utensils away from the serving utensils and so on.
- Move out anything too big: We’ve all tried keeping our serving spatulas and stirring spoons in there with the standard-sized dishes, but this approach can create more problems than it solves. Set up a couple cabinet organizers if you need the help keeping bigger utensils aside.
- Reconsider what you think of as ‘utensils’: We’re not here to tell anyone how to live, but if your silverware drawer is too crowded by things that aren’t necessarily utensils, this might be your chance to move a few things around. If you keep straws, plastic cutlery, or those little corn-cob-things in there and they’re just hogging space, try finding a new home for those to prevent further mess.
- See what’s expired: Makeup has a shelf life above and beyond fashion trends and seasonality, and tossing out anything that’s unsafe to wear is a good place to start - eye makeup, for example, only has a safely usable shelf life of 3 or 4 months, whereas foundations can last from 6 months to a year and powder based products can keep for almost 2 years!
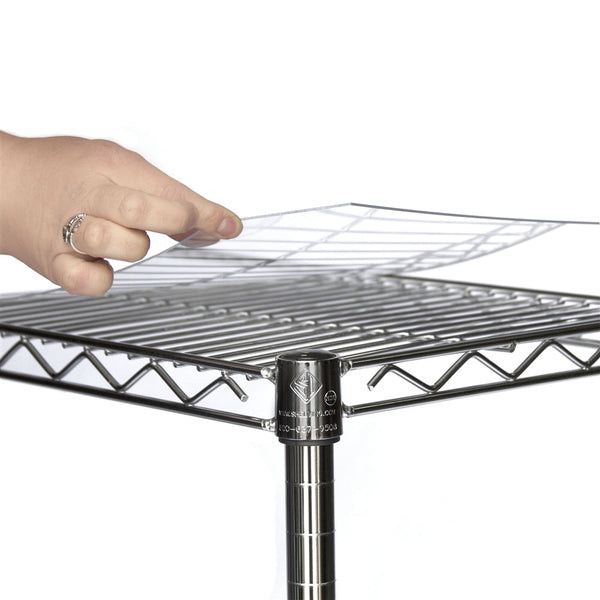
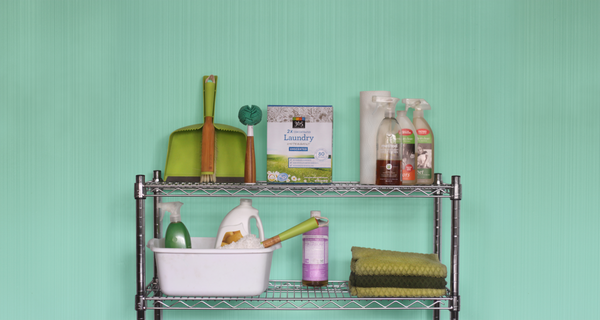
- Put the rest of your bathroom to work: While the idea of keeping all your makeup together might be tempting to save time, you might actually find yourself digging around a lot less if you spread your stuff out across the bathroom. Use the rest of your bathroom organizers like toothbrush holders for brushes, clear plastic drawers for pallets, even the extra space on your wire shelves for bigger stuff. If you have a dedicated spot for everything and you can remember where it is, this will help prevent it becoming a bigger mess later.
- Get creative: Since the whole point of makeup is aesthetics, why not take a little time and make your organization a little more fun to look at? Line the inside of the drawer with wallpaper to freshen the look up a little bit, cut up some old shoe boxes or posterboard to create dividers between each type of makeup in your drawer, or even take some fabric to make a ‘sleeping bag’ for stuff like brushes and lipstick tubes. Go ahead and get fun with it, you’ve got the room in there now!