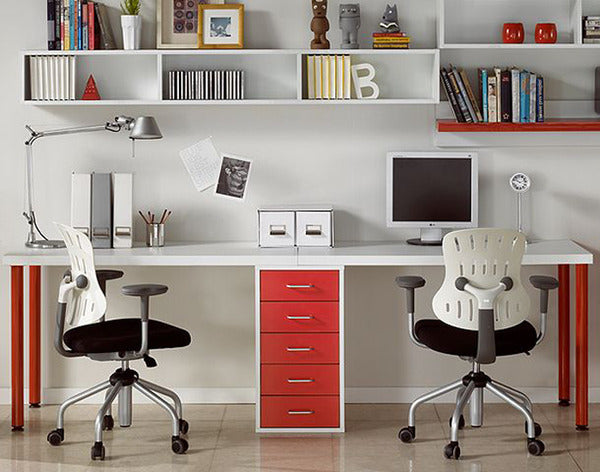
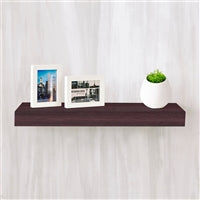
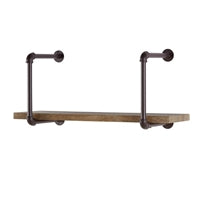
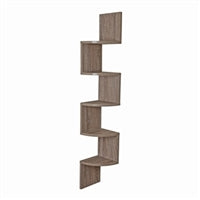
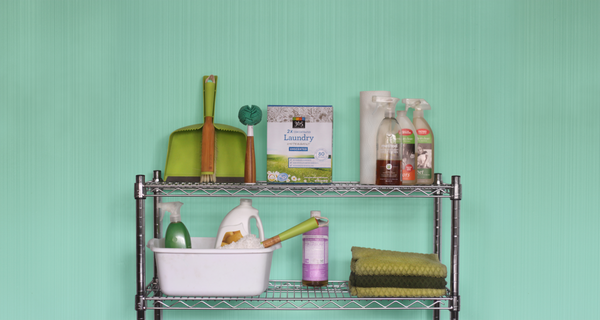
As befitting their name, floating wall shelves are a stylish type of wall shelving that seem to ‘float’ in midair by hiding their anchor points and obscuring the kind of mounting needed.
Hanging this style of shelf isn’t quite as difficult as it might sound, however! Much like any other home shelving project, you just need the right tools, the right guidance, and maybe a little patience to get it done. If you’re about to set up those new floating shelves you’ve been thinking about for so long, here’s our quick-and-dirty guide to hanging floating shelves and creating a new accent piece or storage option:
- Check the type of wall you’ll be hanging it on: Different materials of wall (wood, drywall, etc) require slightly different methods of handling. If you don’t already know what kind of wall you’re dealing with, give it a simple knock—if it sounds hollow, it’s drywall, otherwise it’s likely wood or plaster. (Also, if you’ve been able to easily slide nails through the wall in the past, it’s drywall.)
- Look for studs: Ideally, floating shelves should be attached to wall studs as they can provide the greatest support for this sort of shelving, but not all walls have them. Use a stud finder to locate potential anchor points, or tap around the harder points in a plaster wall to identify the source of studs.
- Get the right kind of mounts: Floating shelves, true to their name, use smaller anchors to connect to the wall than other types of shelves so they can keep up the illusion of ‘floating’. Many floating shelves will come with the anchors you need, but if not, make sure to double-check the style of anchor (or ‘molly plug’) you need.
- Measure and mark the correct space on the wall: Identify where the anchors will go on the shelf and make the correct corresponding marks on the wall.
- Trace the shelf’s location: Use a level to trace a line between these newly drawn anchor points and make sure the shelf will sit flush and straight on the wall.
- Get drilling: Take your favorite drill and make pilot holes into the wall where the anchors will sit.
- Insert anchors: Place the anchors into the newly-drilled holes (making sure to follow any provided instructions, of course).
- Get aligned: Line up your shelf and/or bracket with the anchor-filled pilot holes, then take a regular screwdriver and attach the bracket into the wall by screwing into the anchors.
- Lay the shelf down: All you should have to do now is place the shelf onto the bracket (or directly onto the anchors, as the design calls for) and you’re done!

